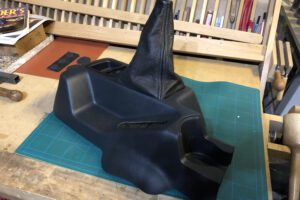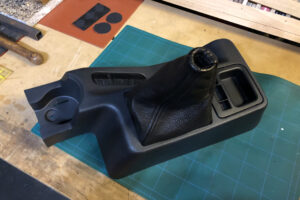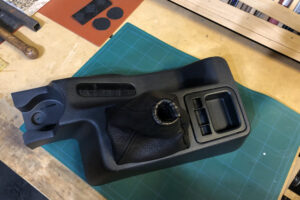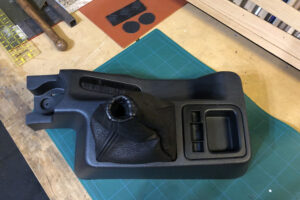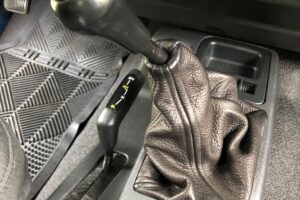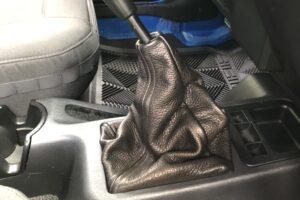
Shifter boot

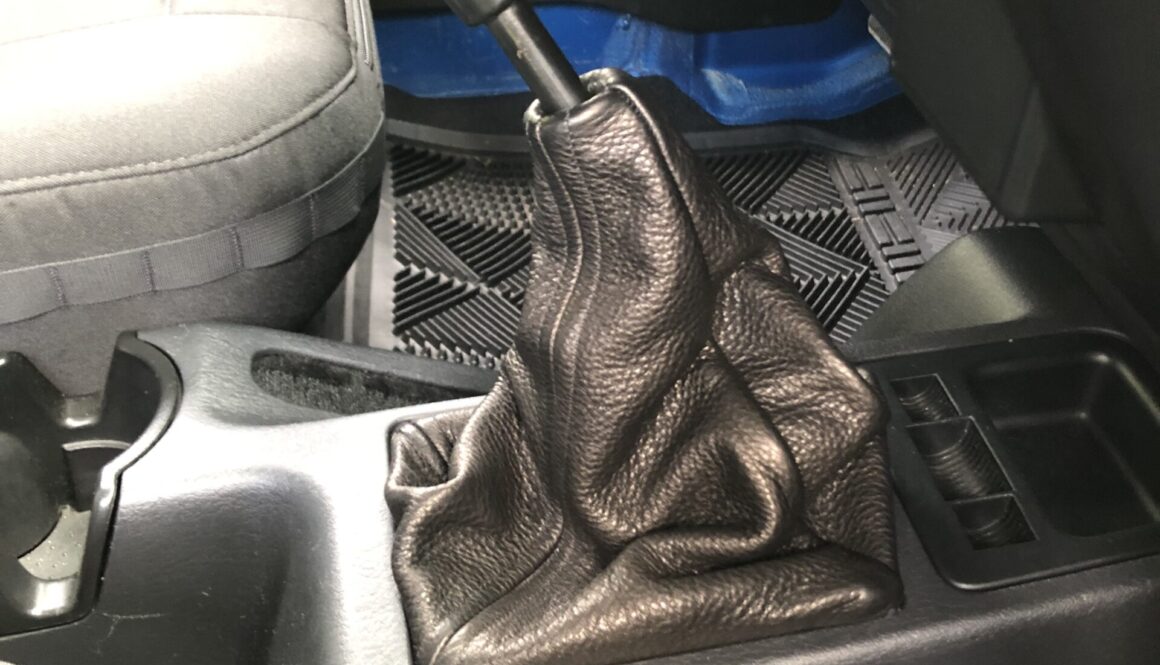
Jeep TJ DIY Shifter Boot
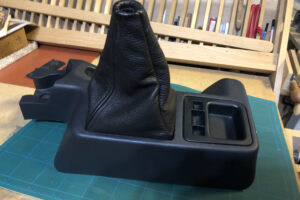
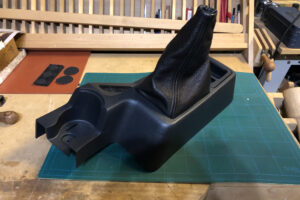
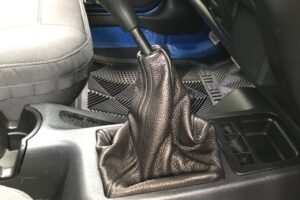
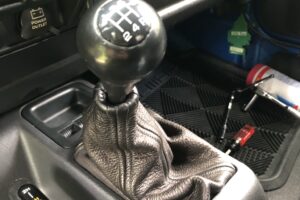
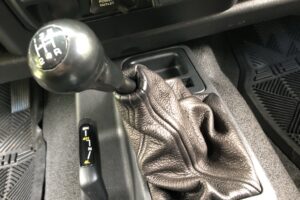
So I decided to stitch up a new shifter boot for my TJ to replace my older hand-made boot. The older boot was nice, but the leather material I used before was a bit on the thick side. This new boot is much more plush and makes shifting so much easier – with zero binding of material in 2nd, 4th and Reverse.
Here are a few notes if you decide to make your own:
Attention: The last side to be stitched should face the front of the Jeep and out of view – which requires planning ahead, before you start stitching anything together!! Also, have a look at the gallery below, before starting your work… it may help.
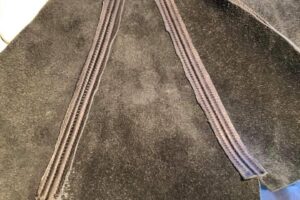
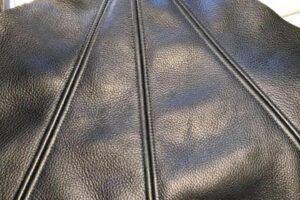
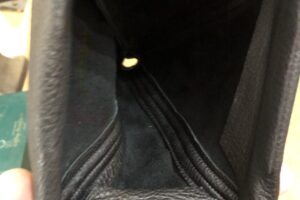
Stitch the leather together along the red dashes, with the nice side facing each other. Once all four sides have been stitched together, run an additional set of stitches down each side of first stitch to secure the excess leather material within the boot and to create the double stitch effect.
Next run a few curved stitches across the top of the boot to lock everything down and create a nice tight row of stitches. This will also secure the flaps at the top.
At this point you should have all four pieces stitched together with three seams, but one side of the boot will still need to be stitched together to complete the boot, and it’s going to be difficult to double stitch the last side without a proper sewing machine. So I recommend making sure you face that last side to be stitched towards the front of the Jeep and out of view (which requires planning ahead, before you start stitching yours together). Then run one final stitch to finish the project.
Now turn the boot inside out and fit it to your bezel to place on shifter.
Note: I just let the 2″ of bottom material hang loose beyond the bezel. It just makes it easier for the install. But you may want to dress up the bottom edge more.
