News

Jeep TJ DIY Floor Mats
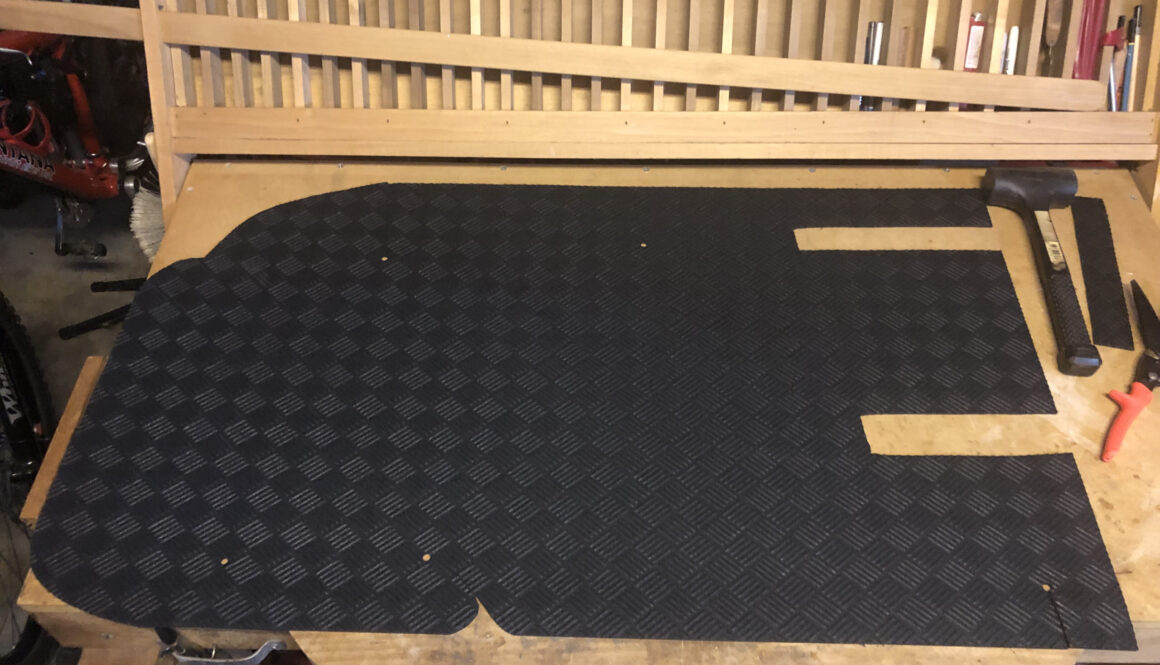
So I got tired of looking for a set of floor mats for my Jeep TJ, to replace the lousy set I have now that always slide around on the floor boards. Every set of floor mats I’m interested in are currently out of stock or too expensive (to consider at this time), and I didn’t want to rob my “control arm funds” that I’m saving up for. So I decided to make my own floor mats as a temporary solution to get the loose ones out of my Jeep that always slid around.
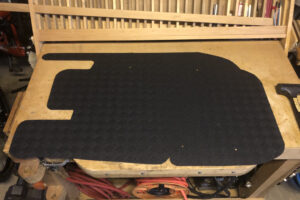
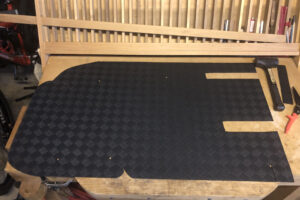
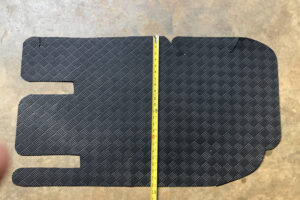
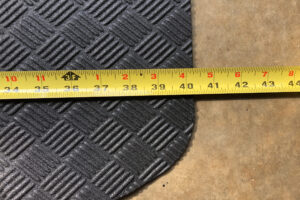
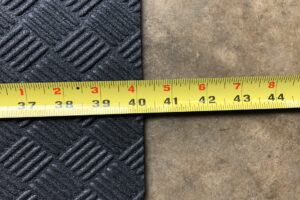
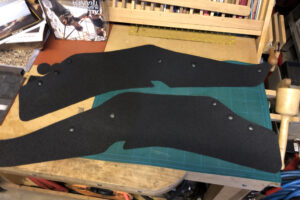
Luckily my wife does a lot of sewing, so she had a large piece of fabric pattern material laying around that I snatch while she wasn’t looking. This pattern material is very flexible and allowed me to easily place it in the floor board and shape it to fit. I then used a sharpie to make places for slits in the pattern for overlapping materials that I would eventually cut. I kept cutting away at the fabric pattern material until I had something that was close to fit, then I began cutting my floor mat material (TrafficMaster Black 36 x 48″ Rubber Deck Plate Mat) that I got from Home Depot.
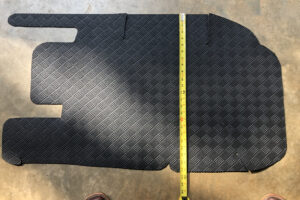
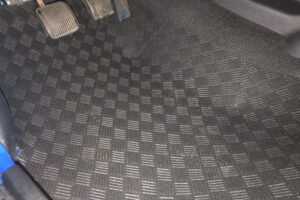
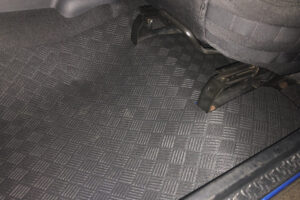
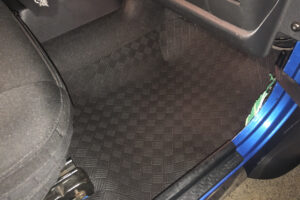
Once I had my mats cut and roughed in, I placed them in the Jeep and continued cutting and trimming until I had a nice fit. Once I had everything cut and fitted, I then used a hole punch at the slits to prevent the slits I had cut from running. Finally I punched some tiny holes along the slit next to the gas pedal so I could sew those two pieces together – to prevent any issues with my foot hanging up on the material were it overlapped.
These home-made floor mats I made are fitted so tight they’ll never slide around, and they’re much better than the loose mats I had before – because I no longer need to worry about them sliding forward and jamming up behind the break pedal or interfering with my foot work.
A Bit of Inner Fender Work
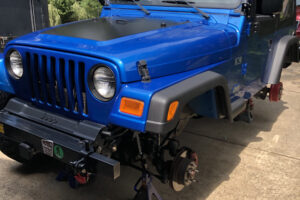
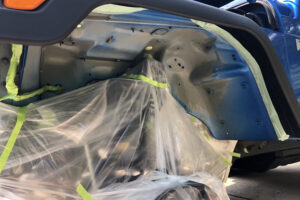
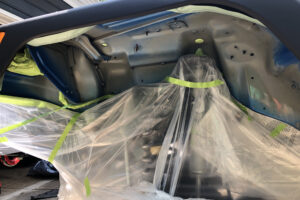
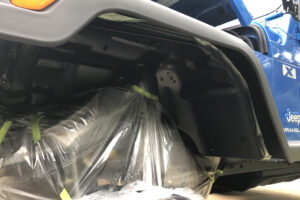
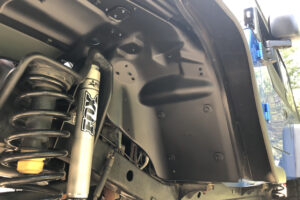
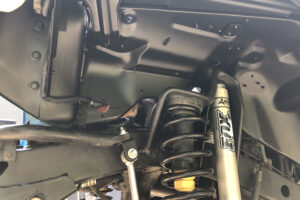
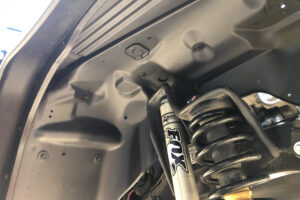
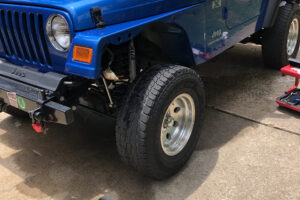
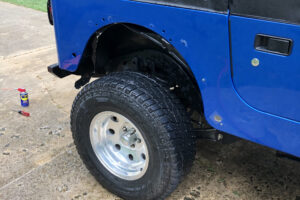
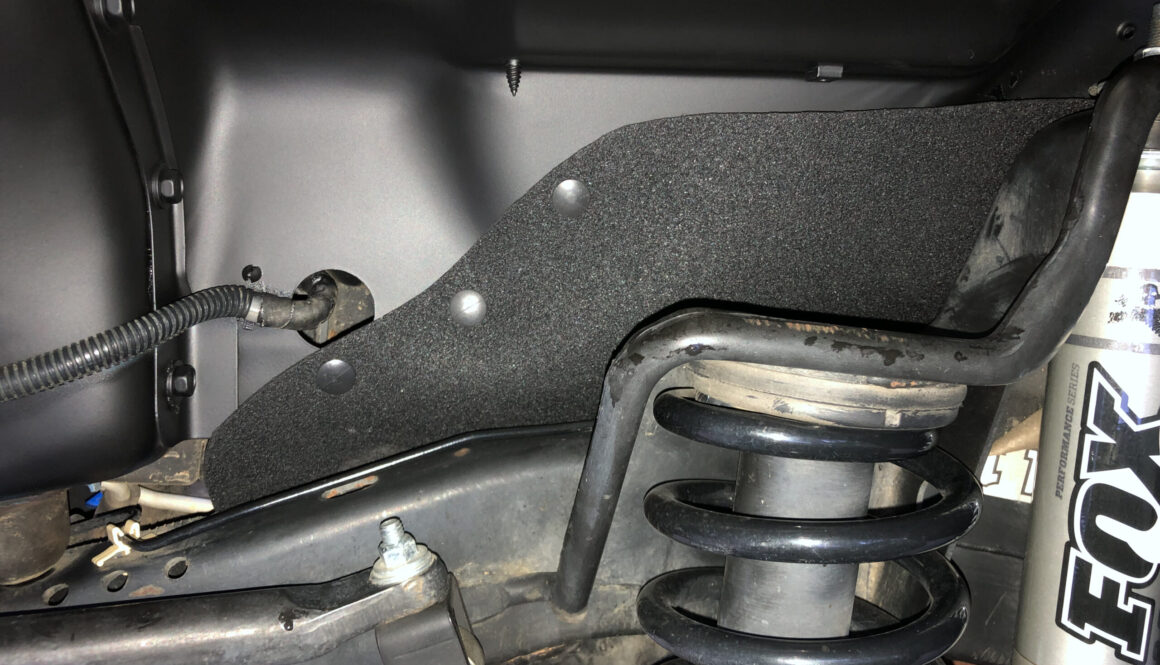
The front inner fender wells of my Jeep are rust free, but the paint has slowly been wearing away from rocks dings and general road grim. So I decided to do a bit of preventative maintenance to protect them from future rust problems, but also to make the Jeep look better in the process. I’ve always felt that the inner front fender wells appeared a bit un-finished, and have long wanted to paint mine flat black.
So now was the time and I spent my Saturday deep cleaning the inner fenders, removing any tar and other chunks of grim, then hit it with my air compressor to blow out as much water as I could after the cleaning. I then let it sit for a few hours in the baking sun, then got to work masking off the areas within. With my rattle can ready, I hit the areas I wanted to cover with multiple coats – with plenty of drying time between each coat.
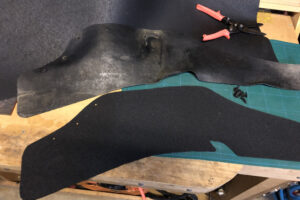
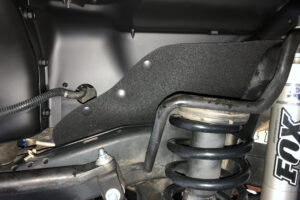
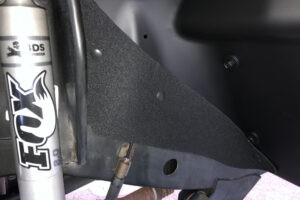
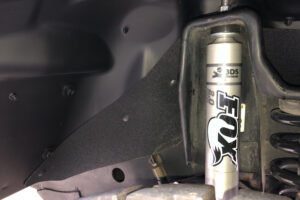
While the paint was drying I began my DIY project to make a new set of inner fender rubber guards, as mine were 18 years old and looked quite nasty – compared to my new paint job. This was an easy project – basically just laying the older inner fender rubber guards on-top of the new material I had and cut out to fit. A few hours later, I pulled off the masking tape and installed the DIY inner fender rubber guards I made to protect the engine compartment from mud and rocks.
I’m quite pleased with the results.
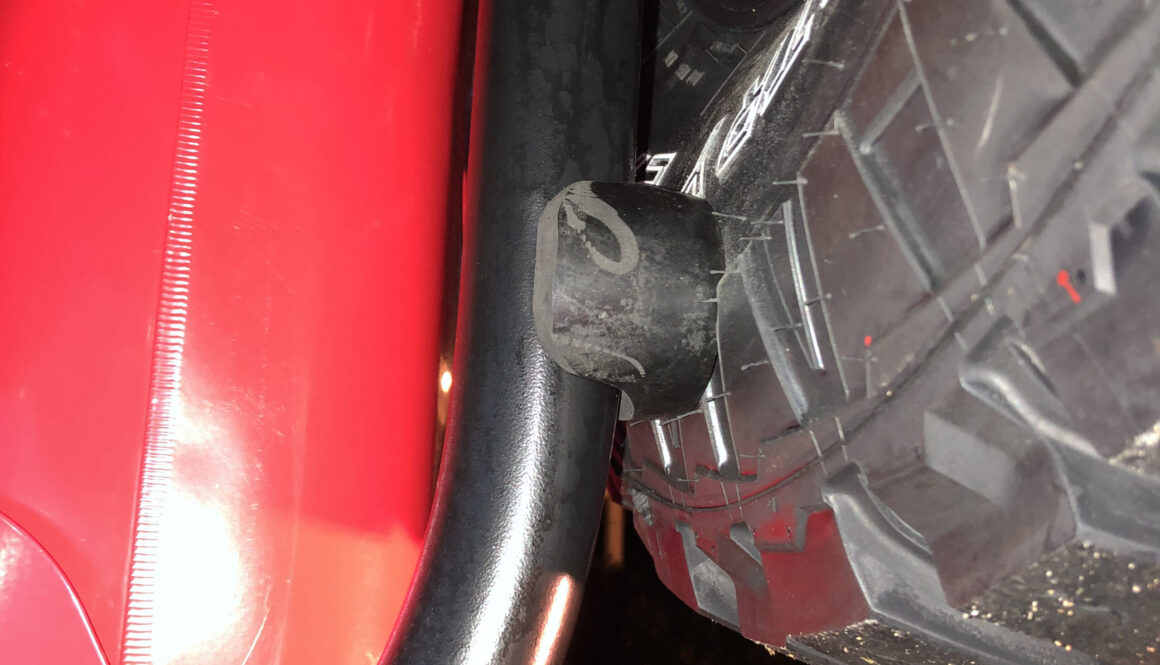
DYI Spare Tire Bump
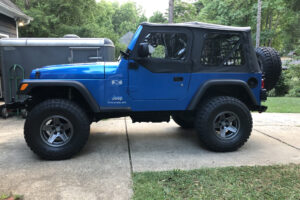
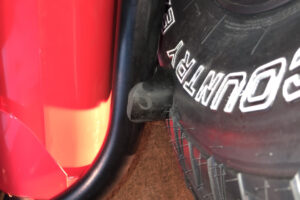
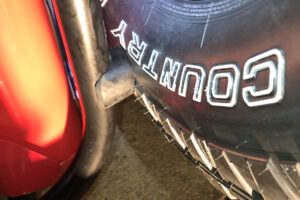
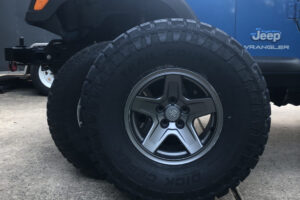
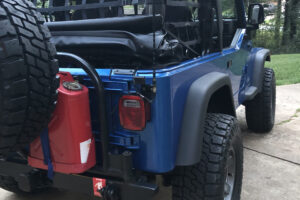
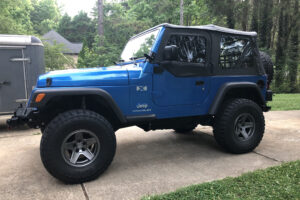
After installing my new Dick Cepek Trail Country EXP 33×12.5R15 tires and Mammoth Boulder Gunmetal Gray 15″ wheels I found that I wasn’t able to get the tire pressed against the swing-away tire carried as I was able to with my prior tires and wheels. I liked having the tire rest against the swing away – as it helped with bracing the extra weight of the tire.
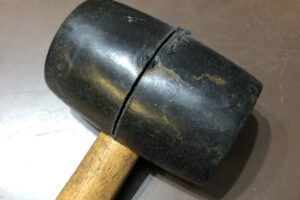
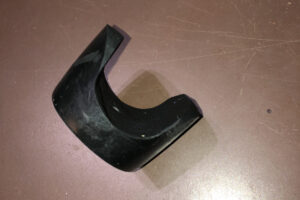
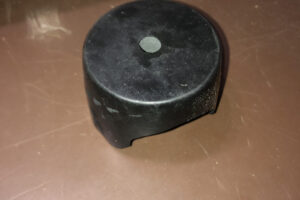
After a little thought I decided I could make a tire bump… but what to use. The first thought that came to mind was a hockey puck, but there’s not a lot of material to work with to accomplish what I needed. As I stood in my garage thinking about materials I could use and where I might find them – I noticed the wife’s stake hammer hanging on the wall of the garage.
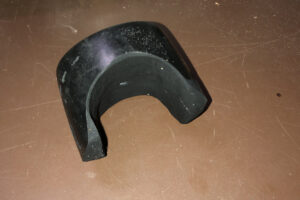
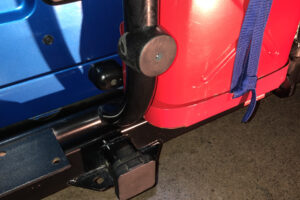
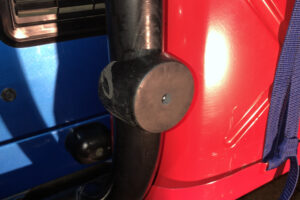
So I grabbed the wife’s stake hammer and took it to my Jeep to see if it may do the job for a tire bump, and it appeared to be a perfect fit for the job. Next I cut the mallet down the center using a hacksaw, and popped it in halves.
Next was the tough part… how to cut a circular shape in the material. I tried using my hacksaw, but the half-mallet just kept slipping around. I tried securing it in a vice, but that didn’t work either. I eventually decided that it may be easier to carve – rather than saw. So I grabbed a wood chisel and began scoping out the materials until I achieved the shape I needed to wrap the bump around my swing away tube.
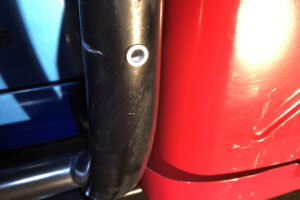
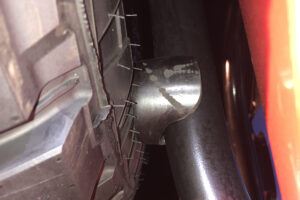
I then finished out the shape of the curved with a Dremel to get a nice clean fit. Next I drilled a hole into the bump and my swing away tube. With the hole in the swing away tube – I popped in a rivet nut and mounted up the tire bump and spare tire.
It turned out great and looks like it it came with the swing away.
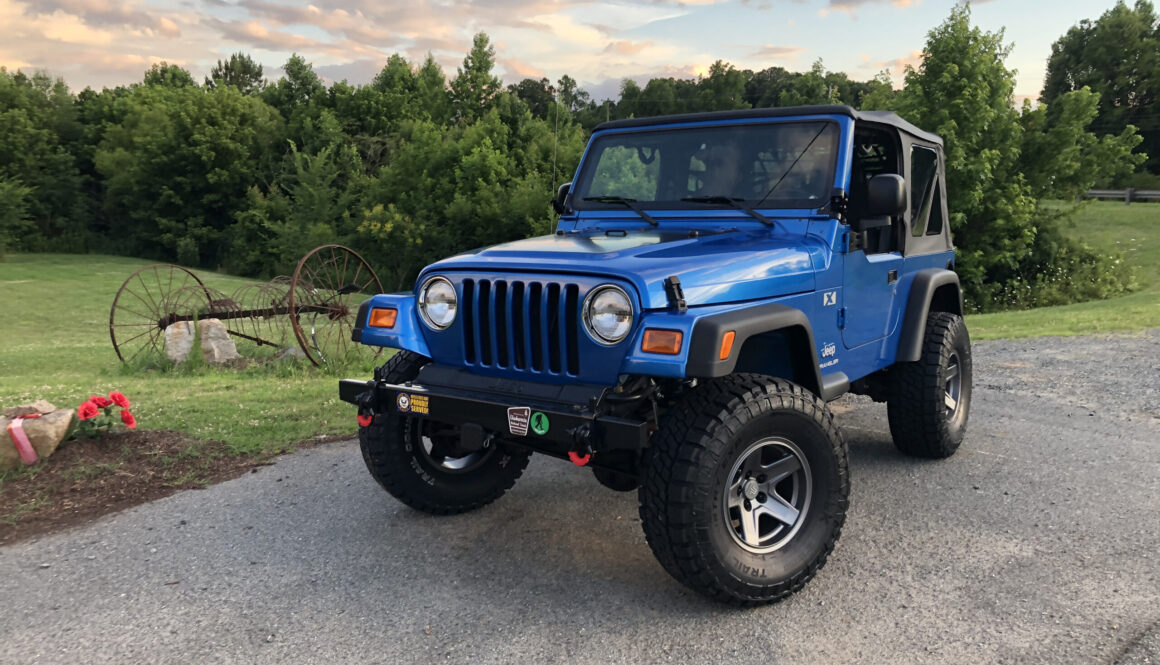
New Tires and Wheels for the Jeep
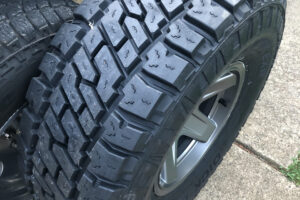
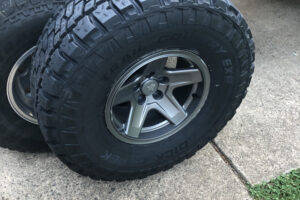
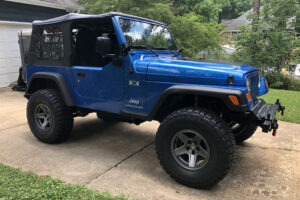
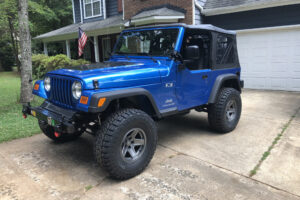
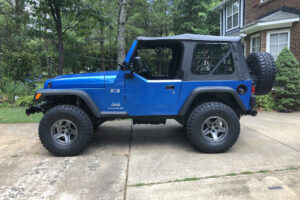
After months of research to find the perfect set of wheels and tires for the type of wheeling I enjoy doing, I finally decided to go with Dick Cepek Trail Country EXP 33×12.5R15 tires and Mammoth Boulder Gunmetal Gray 15″ wheels, and placed my order with Extreme Terrain.
Within four days my new tires and wheels arrived and I waisted no time mounting them to the Jeep.
I absolutely love the way they look and the new tires track well on the streets and corner great. They are actually quieter than my previous AT tires as well… which is a pleasant surprise. I haven’t had a chance to see how the tires perform off-road, but based on other’s feedback the Dick Cepek Trail Country EXP tires will perform great.
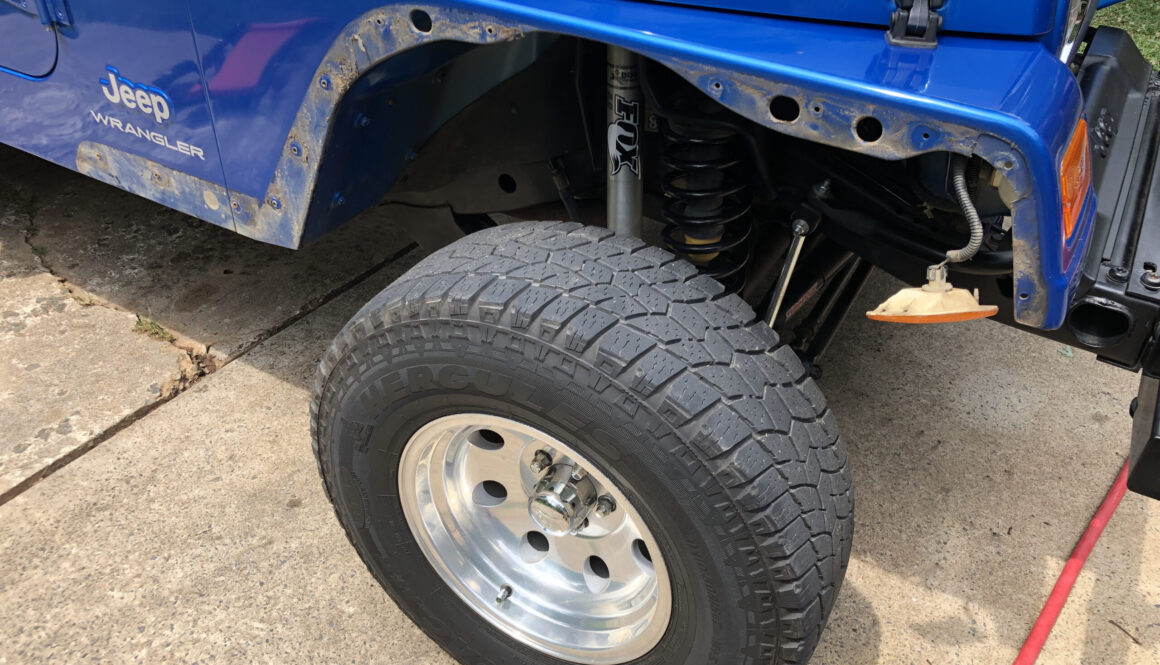
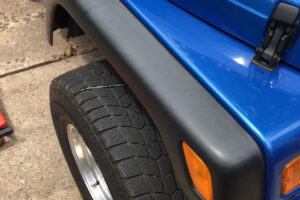
Adding New Fenders to my Jeep
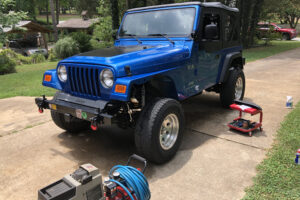
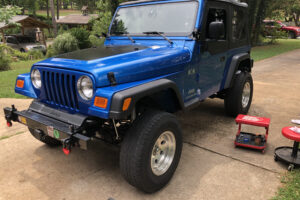
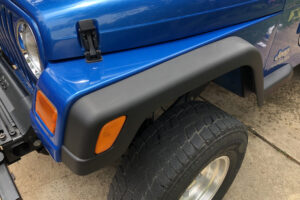
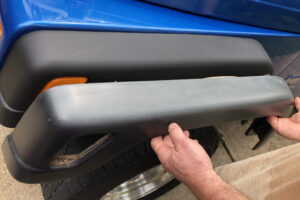
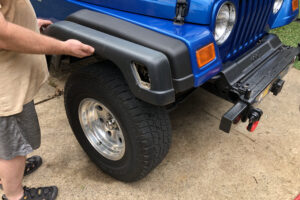
Last week my new fenders arrive for my Jeep. In preparation of their arrival, I hit the tub bolts with penetrating oil every day for a week prior, the others that thread into the plastic backing nuts I hit twice – two days before the job. All the bolts came out fairly easy except one. The one that gave me trouble was related to the rivet nut spinning on the tub. I reached up from the undercarriage and placed some vice grips on it to prevent it from spinning and worked the bolt slowly an 1/8” inch back and forth, then hit it with penetrating oil again. I waited 10 minutes and worked it back and forth again about a 1/4” inch each time, hit it with oil again and waited for 10 minutes. I kept doing this and eventually it came out.
I then used my rivet nut tool to retighten the rivet nut that was loose. As I removed each fender, I cleaned up the area where the fenders attach to clean up the dirt and grim that had collected and clean up the paint. As I reinstalled each new fender, I added a nice helping of grease to each bolt to ensure the next time I remove the fenders – the removal process would be much easier.
It took me 1 hour on the troublesome fender, and 35 minutes each on the remaining fenders.
Best advice I can give to others planning to remove their fenders is… lots of penetrating oil, take your time and if a bolt does not want to come out – don’t force it. Instead take small turns back and forth and re-oil until it begins to come out.
I’m really pleased with the results!!!
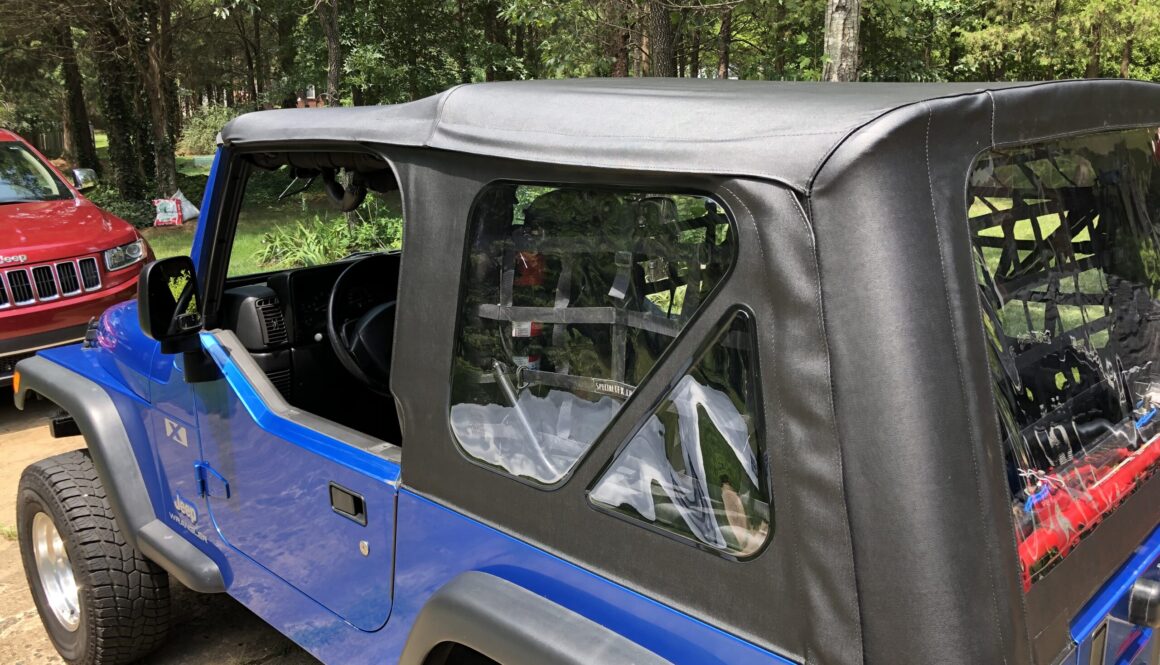
BesTop Replace-a-Top
I purchased a BesTop Sailcloth Replace-a-Top from QuadraTech, back in July 2020. Overall I am very pleased with the top, but the driver side rear window zipper was initially a bit tricky to get started. I figured it would become easier as time passed, but unfortunately it hadn’t and it got more difficult to get the zipper started each time I tried to put the window back on. I even tried some zipper wax to butter it up – but that hadn’t help make it easier either.
So I reached out to BesTop for support and explained my troubles. Customer support was very helpful, understood my issue and sent out a new driver’s side window. Within a couple of days the new window arrived and the moment of truth was at hand.
I had my wife hold the loose end of the window as I began to thread the zipper… I looked at her and pulled the zipper and it went on effortlessly. I turned and gave her a big smile and said, “that went on like smooth butter.”
I just wanted to speak out about BesTop’s excellent customer support and speedy resolution.
Many thanks BesTop!!

